How to Choose the Perfect Live Video Tool
[wpv-post-taxonomy type="podcast-names" format="name"]
Episode 4
Duration: 37 minutes 11 seconds
Episode Theme: Tech & Gear
June 14, 2019
Found it difficult to find the best live video tool? That's what we're talking about in this episode.
There are a variety of Live Tools that you can use to go live. I know it can get tricky, so I’ve put this episode together to help give you an idea of where to start.
Let’s get going…
A quick word of warning before you read this or listen to the podcast:
Remember that things change constantly in the technology and social media space, so the information in the podcast and these show notes is up to date as at publication date. Some of the limitations or concerns I raise may well disappear over time – so it’s a good idea to just check if the information is up to date (when you are reading this).
Live Tools Categories
#1 Smartphone based
The easiest method is to broadcast live from your smartphone using a native app. For example using the main Facebook, Instagram, Twitter, Periscope or YouTube app on your smartphone.
Pros
- Easy to use
- Ability to monitor comments
- Great for impromptu live videos
Cons
- You can’t schedule a Facebook Live broadcast from your phone
- No ability to save high quality video
- No ability to highlight comments
- You can’t share your screen
- You can’t broadcast to LinkedIn Live from your smartphone currently
- No ability to add pre-recorded videos
- No ability to create and change scenes
#2 Web Apps (runs within your browser)
BeLive
One of the most well-known and easy-to-use web app-based live streaming tools out there. Since this runs through your web browser, it works on both Macs and PCs. You can bring in guests really easily through the web too.
Pros
- Streaming to Facebook and Twitch
- Free and paid versions
- You can bring in a guest really easily (you just give your guest a link to join you)
- Modes: you can go it alone (“solo”), have you and another person (“interview”), or multiple people (“Talk show”).
- You can monitor your comments easily and highlight them on to the broadcast (with the commenter’s image). Great for engagement!
- Easily bring in guests on to the show – up to 4 participants.
- You can add titles to your broadcast
- You can add branding, colours and a logo and change the layout and look and feel
Cons
- No recording facility.
It doesn’t give you the ability to download a high-quality version of the video once you’ve finished. You have to go to Facebook and then download the video there. In my experience, the quality isn’t as good though – so makes it harder when you are trying to repurpose your content. - Screensharing requires a paid plan
- Currently no ability to stream to Periscope or YouTube (although YouTube is coming)
- No ability to stream via RTMP
- No ability to add pre-recorded videos
- No ability to create and change scenes
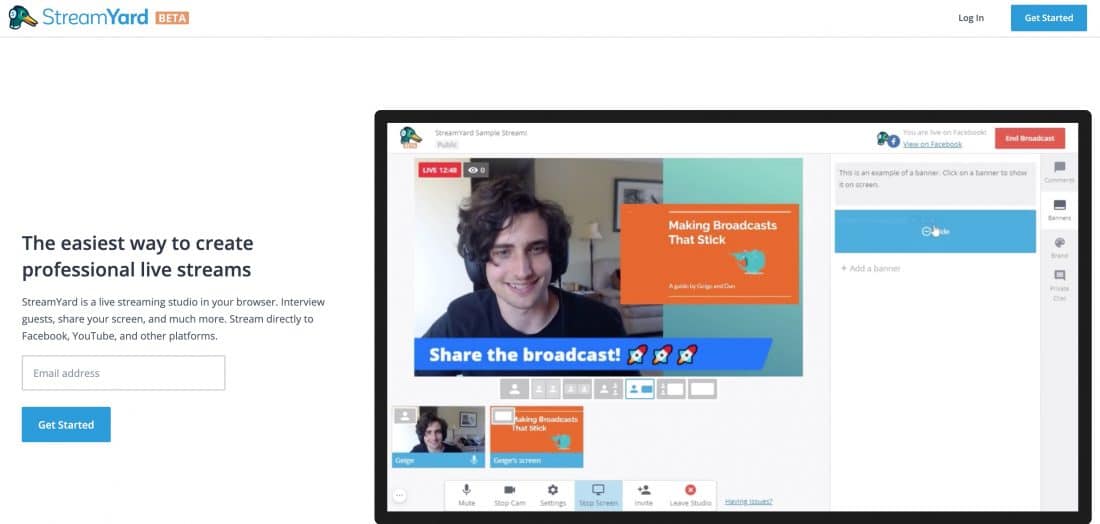
StreamYard
Very similar to BeLive.tv, but with some extras. It is becoming a tool that I would recommend to people starting out on going Live. They have a free plan as well as paid options.
Pros
- Cross platform – works on PCs and Macs
- It has screen sharing (even on the free plan)
- Streaming to Facebook, Periscope, YouTube, Restream.io and pretty much any platform out there.
- Easy to use (like BeLive.tv)
- You can add video to your stream (you can add in as an overlay)
- You can monitor your comments easily and highlight them on to the broadcast (with the commenter’s image). Great for engagement!
- Easily bring in guests on to the show – up to 6 participants.
- You can add titles to your broadcast
- You can add branding, colours and a logo and change the layout and look and feel
- Can add up to 30 seconds of pre-recorded video
Cons
- No recording facility.
It doesn’t give you the ability to download a high-quality version of the video once you’ve finished. You have to go to Facebook and then download the video there. In my experience, the quality isn’t as good though – so makes it harder when you are trying to repurpose your content. - No ability to create and change scenes
#3 Webinar / Video conferencing tool
With these tools, you can record your webinar and then can go live at the same time.
They are ‘hybrid’ tools – not solely created to be Live tools… it isn’t their main purpose, but they have the ability to stream live as well.
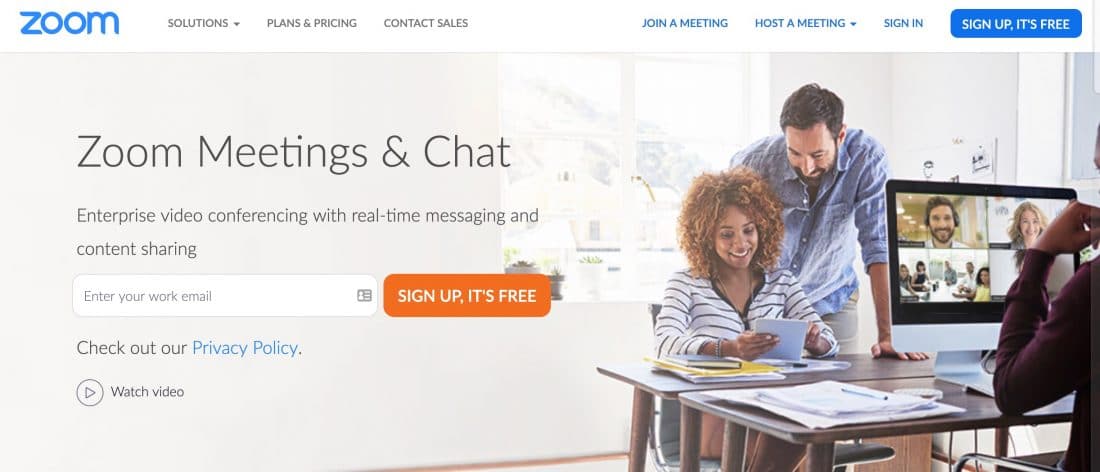
Zoom.us
I love this tool – I use it a lot for online meetings and mastermind meetings. It has lots of great features like the ability to record and download a video of your meeting. It is very much like Skype, but much more stable.
Pros
- Streaming to Facebook on the PRO plan
- Inexpensive
- You can bring in a guest really easily (you just give your guest a link to join you)
- Modes: you can go it alone (“solo”), have you and another person (“interview”), or multiple people (“Talk show”).
Cons
- Adds Zoom logo on tthe screen
The “Zoom” is plastered on your live stream - No ability to add your logo, styles etc
There isn’t any opportunity to add any of your own branding. I wouldn’t recommend it, if you are wanting to build your brand.
There are others out there that do allow you to stream, but they tend to be quite expensive.
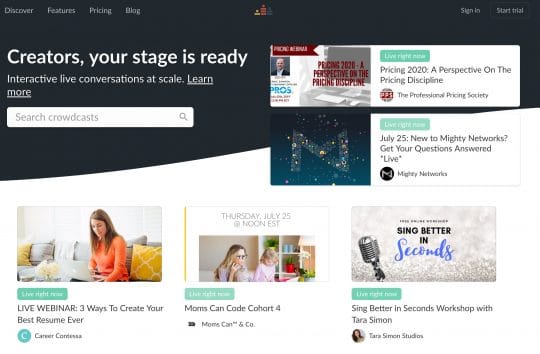
Crowdcast
Facebook & YouTube Live streaming is only available on the $139/month Business Plan. Check out the pricing page for more details.
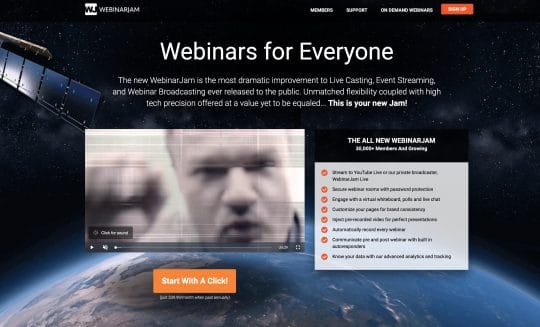
WebinarJam
Facebook & YouTube Live on all plans, starting from $479 per year. Beware of the popups and auto-playing video on the landing page.
#4 Third-Party Mobile Apps
This is a dedicated app that allows you to stream to multiple platforms and create a mobile live studio. This is really just about Switcher Studio – which really sits in a category on its own.
Switcher Studio (iOS only)
This is basically an app that helps you to create a mobile studio with your Apple devices. So you can create multiple camera angles and use multiple devices. You could, for example, have an iPad which you control everything on, then set-up multiple iPhone’s around the room (on tripods or handheld) and then easily flick between them in your stream.
Pros
- You can bring in guests from your Mac (just have to download some extra software for this)
- Add lower 3rd graphics and animations on the fly while you are out
- It is one of the only apps that broadcasts to LinkedIn (at the moment)
- Ability to save high quality recording of video
- Highlight and monitor Facebook Live comments on screen
Cons
- On iPhones and iPads only – on later versions of iOS only (doesn’t work on Android)
- It’s expensive – but it is amazing for what you get!
- You can only use an iPhone or iPad to control the App (not a computer)
The standard plan ($39/month or $348/year) isn’t suitable for commercial use. The professional plan ($79/month or $588/year) also has the ability to highlight Facebook comments, bring in guests and do Facebook Live cross-posting.
#5 Downloadable Desktop App
A standalone app that will stream to a platform like LinkedIn or Facebook. I highly recommend if you want to take things to the next level.
Ecamm Live (Mac only)
Ecamm Live is my top desktop streaming recommendation for Mac users. It offers that amazing sweet spot between ease of use and power.
Pros
- It allows you to bring in guests (but only through Skype at the moment) – the integration is very easy
- Can highlight comments on screen from any of the platforms (Facebook, Twitch, etc)
- Can add text and videos into your stream
- Can add multiple cameras (just plug direct into your Mac and it easily recognises them)
- You can also add multiple microphones
- You can have a green screen (to change your background)
- You can save your video in full HD (for repurposing later)
- Advanced features such as NDI, virtual webcams and more
Cons
- Only available on Mac
There are two pricing plans – standard ($12/month) and pro ($20/month) – but you pretty much get everything you need in the standard plan.
OBS Studio (Mac and PC)
This is where I started! Three years ago, this was the tool I used to go live. Unlike Ecamm Live – you can use it for PC (and even Linux). It is a really robust tool, is opensource and free and does allow you to save your video in full HD and does pretty much what Ecamm Live allows you to do…with some downsides:
Pros
- Works with both Mac and PC
Cons
- Hard to bring guests into the stream (there is a way to do it, but it takes some geek effort)
- There is no built-in feature for highlighting comments (you would have to find some other way or another tool to help you do that)
StreamLabs OBS Studio (PC only)
This one has been recommended to me by my friend Mark Orr, so I haven’t had a play with it yet. They have taken OBS and added some extra features – and you can even download a mobile app for it (to work similarly to Switcher Studio – but for PCs).
Wirecast (Mac and PC)
A much more professional tool and is what I use to go Live on LinkedIn – as its one of the only approved LinkedIn Live tools at the moment. It’s a very robust tool but has quite a steep learning curve to it.
I have produced some training for this one – so have a look at my products page to see courses on OBS and Wirecast.
Pros
- Works with both Mac and PC
Cons
- It doesn’t allow you to bring in guests and highlight comments on the Lite version (unless you integrate other apps first)
- The Wirecast One version (entry level) starts at $249 (which is significantly better that what the software used to be before) – but you still would have to integrate a bunch of different apps in order to do some of things you can easily do with Ecamm Live or BeLive.tv (although Wirecast is much more robust)
- Significant learning curve – it isn’t as straight forward as Ecamm Live and the others, but it is getting better
vMix (PC only)
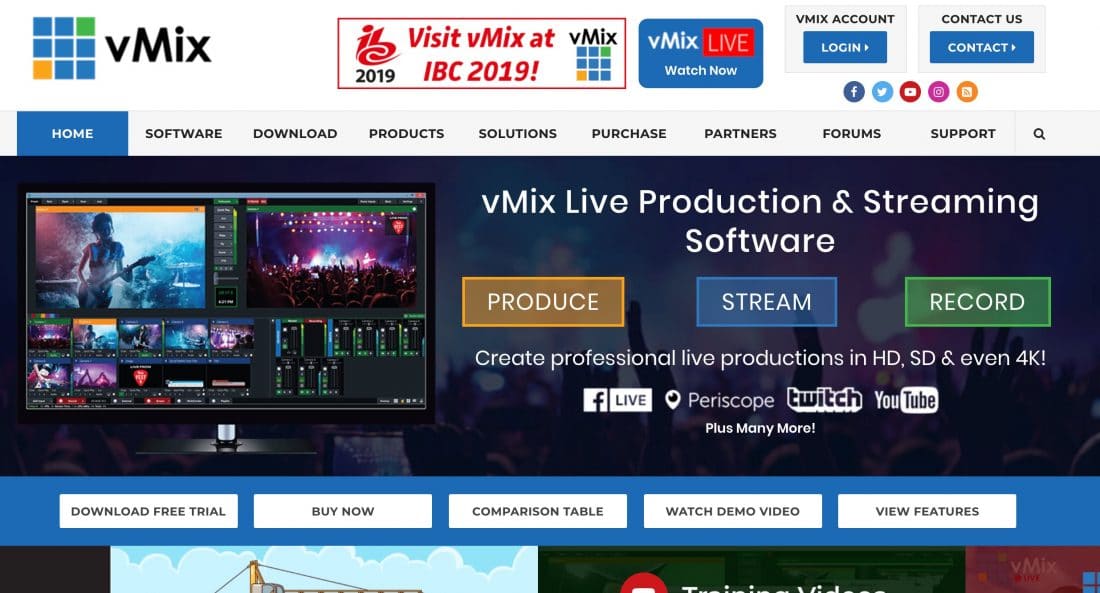
It is robust and many professional live studios out there use this tool. They have a free version, but there is a steep learning curve to it. It does have some great features though like integrated comments and does have a facility to bring in guests.
Live Tools and Kit
Here are a few tools and devices you can use for your Live Streaming:
Mobile Connectivity – The LiveU Solo
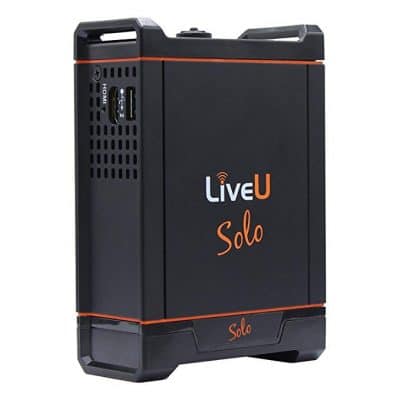
This is for when you go out and about, and you find that your network (4G) coverage is not very good. Basically – it bonds multiple 4G networks together to give you a really strong network connection for your livestream. It’s quite expensive though (around $1,000) and really is more for professional live streamers who really want to take it to the next level.
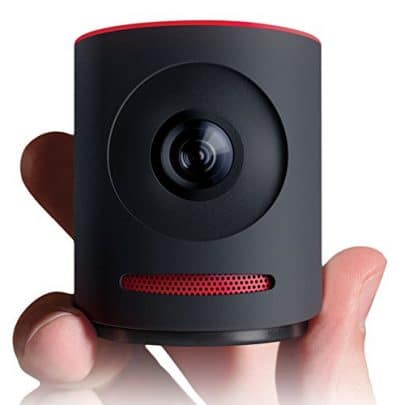
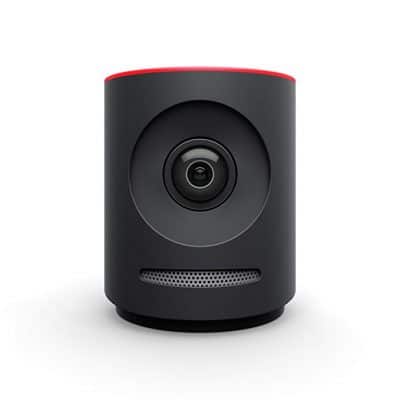
Integrated Camera – Mevo
This is basically a 4K camera that you control from your mobile phone (iOS or Android) and gives you the ability to change camera angles, and broadcast directly to multiple platforms. They work very well at events – or a place where you can’t necessarily want to install lots of computers around the room/location.
Encoder: Epiphan Webcaster X2
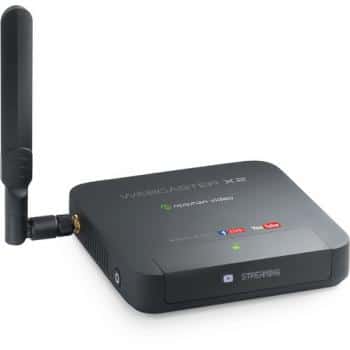
This is an encoder device that allows you to broadcast to multiple platforms (one at a time). You connect your devices (monitor, webcam, etc) direct to it and then does the work!
Multicasting Apps
These are Apps that allow you to simultaneously broadcast to multiple platforms (Facebook, YouTube, Twitter, etc). Basically – you stream to the service, then it re-streams it to the different platforms.
While this sounds like a good idea in theory – practically, it gets really hard to manage the different audiences on different platforms.
Downsides to these in my view are:
- trying to manage multiple audiences and keep track of comments across multiple platforms
- some of them don’t allow you to schedule the Live (like restream.io) through the App
- some don’t allow you to type a description to the Live – just the title
- also – they stream using their branding (unless you pay extra)
Some multicasting apps to look at:
Restream.io Visit Switchboard Cloud
What next?
Start simply – if you are new to Livestreaming, start with your smartphone. If you want to step it up – then move to your Desktop and use a browser-based Web App. Once you are more comfortable – look at the more robust downloadable apps. But if you are really invested and want to level your Livestreaming up – then yes, by all means, look at investing some of the other tools and equipment I’ve suggested above.
Are there any other tools that you would be interested in hearing more about? Let me know!
Watch Episode 4
6 Comments
Leave a Comment
You must be logged in to post a comment.




Thanks for this review, very helpful. I think I’ll try out Ecamm…. 🙂
Awesome! Let me know how you like it!
Hi Ian,
Tx for the clear and unbiased overview. I am Interested in putting together a setup including a hardware-based encoder, capture card, and switcher (12G SDI) that will allow me to stream from multiple, heterogeneous cameras to multiple social media sites.
Specifically, I need a switcher/encoder that is QUIET since it will be located directly next to studio recording microphones for musicians – no fan noise allowed… Black Magic equipment is LOUD so no way to use their great products. Roland switchers seem to be the solution (They are a music company and seem to understand the need for quiet devices), but require additional stream encoding hardware (do NOT want to use OBS) that I cannot find. Any recommendations for hardware stream encoders?
FYI: Switcher looks great as an iOS-based solution, but too expensive and not good for other source devices.
Hi Andrew, so sorry I missed your comment. I assume you have this all sorted out now. There are lots of options. OBS Studio would be the obvious choice. But if it was me, I’d use Ecamm Live if it’s on a Mac. For PC-based hardware, definitely check out vMix which will definitely do what you want.
Love your podcast! I started going live on FB daily so this is exactly what I needed!
Thanks so much, Olga! That’s great to hear. Tell me more about your FB Live! How’s it going and what is it on? Ian